The Vibes + Logic Creator Studio is designed to empower artists and web3 developers to collaborate quickly on a generative NFT collection project. Our workflow supports many common generative NFT needs including:
- Layer importing and exporting from Photoshop
- Layer rarity configuration (artists set percentages % in layer names)
- Fast layer combination previews and trait renaming
- Hierarchy setup and classification
- Layer combination rules and dependency graph setup
V+L Creator Studio Announcement:
https://www.vibesandlogic.com/blog/vibes-logic-announces-no-code-nft-creation-tools-for-creators-brands-and-agencies
Step 1: Prep your Photoshop file for Export
Download our Photoshop example file Lumens_Simplified_2k.psb ⬇️
The first step in using our software begins with a workflow that starts within Adobe Photoshop.
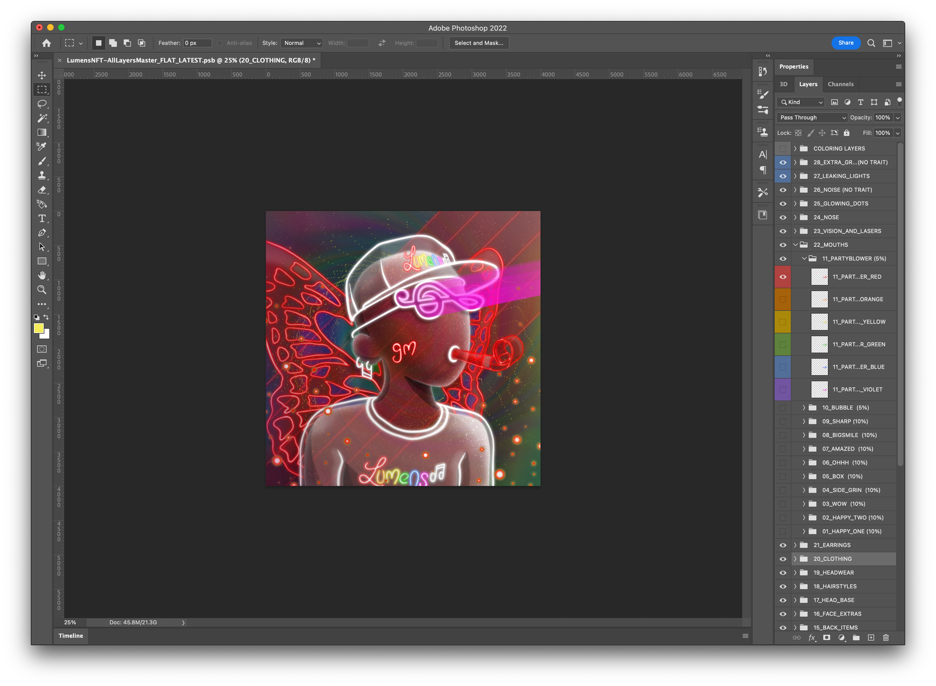
Within your PSD file, you want to have logical layer groupings, ordering, and naming for later use. Our app will recognize the following conventions: the layer # at the beginning, followed by a hyphen or underscore (-, _), followed by a trait name (e.g. "Blue Hair"), followed by another hyphen or underscore, followed by a percentage rarity within parenthesis.
For example, in our sample PSD file we have:
4-Blue Hair-(10%)
🤖 Windows Users: Because the PSD export script uses PSD layer names as the file names for the exported PNGs, do not use special characters such as % as they're not allowed in Windows file names. Instead leave rarity settings out of the PSD layer names and only configure rarity in our Creator Studio app.
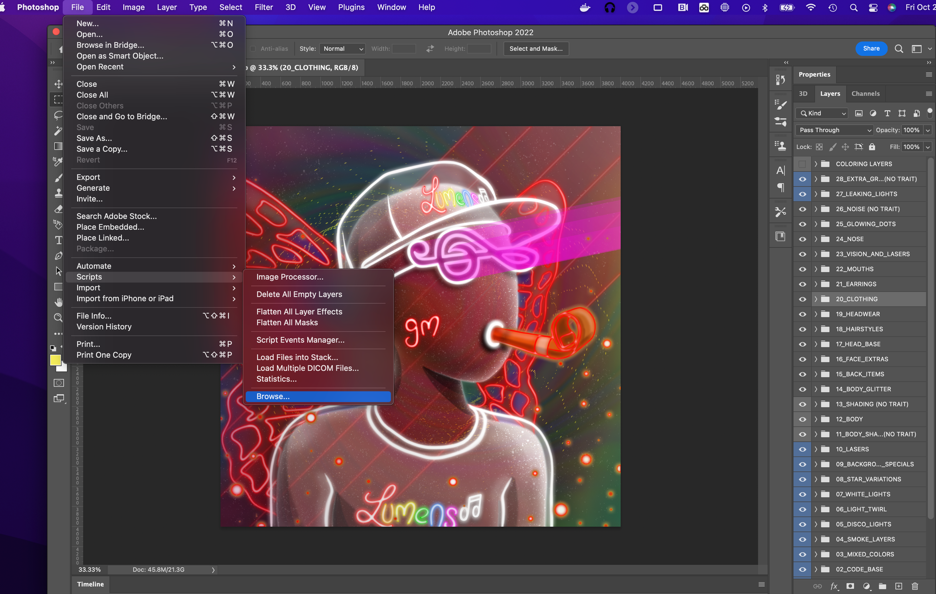
Step 2: Download and Install the "Photoshop Export Layers to Files Fast script for Adobe Photoshop
After your PSD is set up with the appropriate groups, sub-groups, and naming convention, you’ll use the following export script to export your PSD layers into individual PNG files placed inside folders and subfolders matching your PSD file setup.
Download the “Export Layers to Files (Fast) Photoshop Script from https://github.com/antipalindrome/Photoshop-Export-Layers-to-Files-Fast
To run the script, browse to File > Scripts and select the Export Layers To Files (Fast).jsx which will open a prompt:


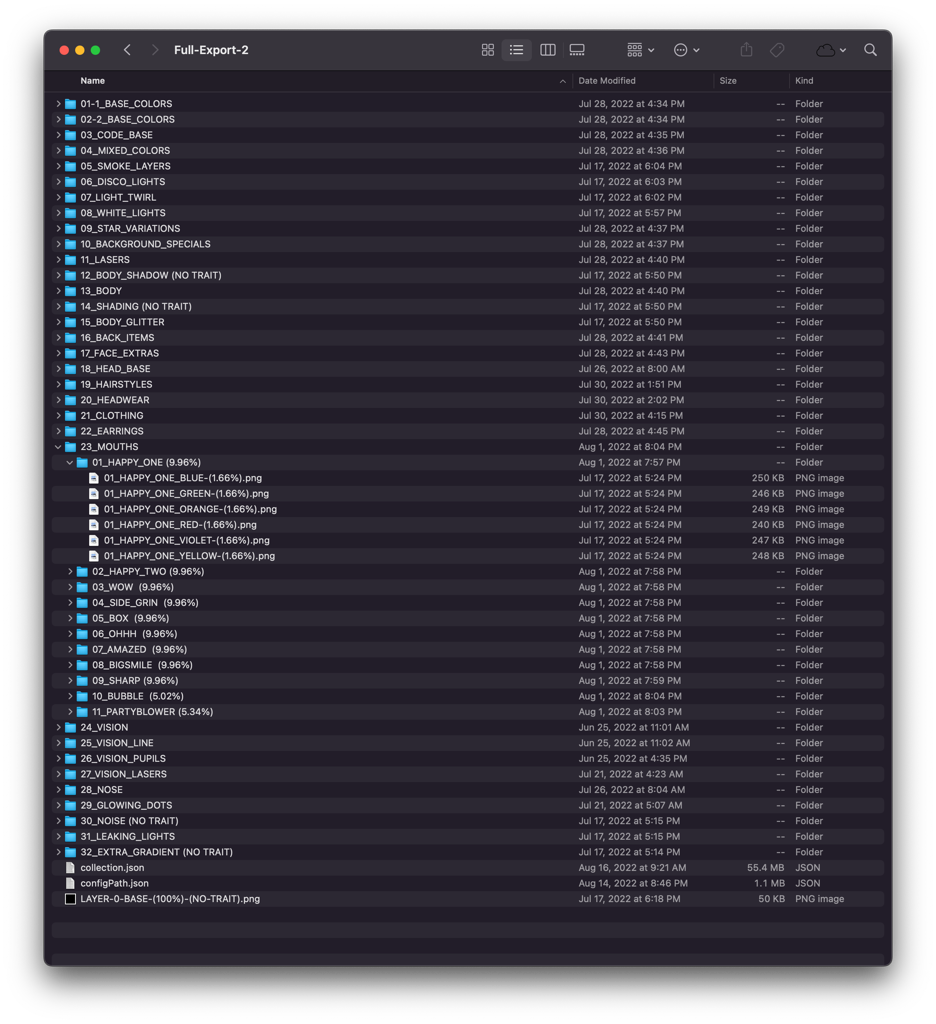
After selecting your output directory and running the export process, which could take minutes or hours depending on the dimensions of your PSD canvas and the number of layers you have, you will end up with a folder of all of the layers from your file as PNGs.
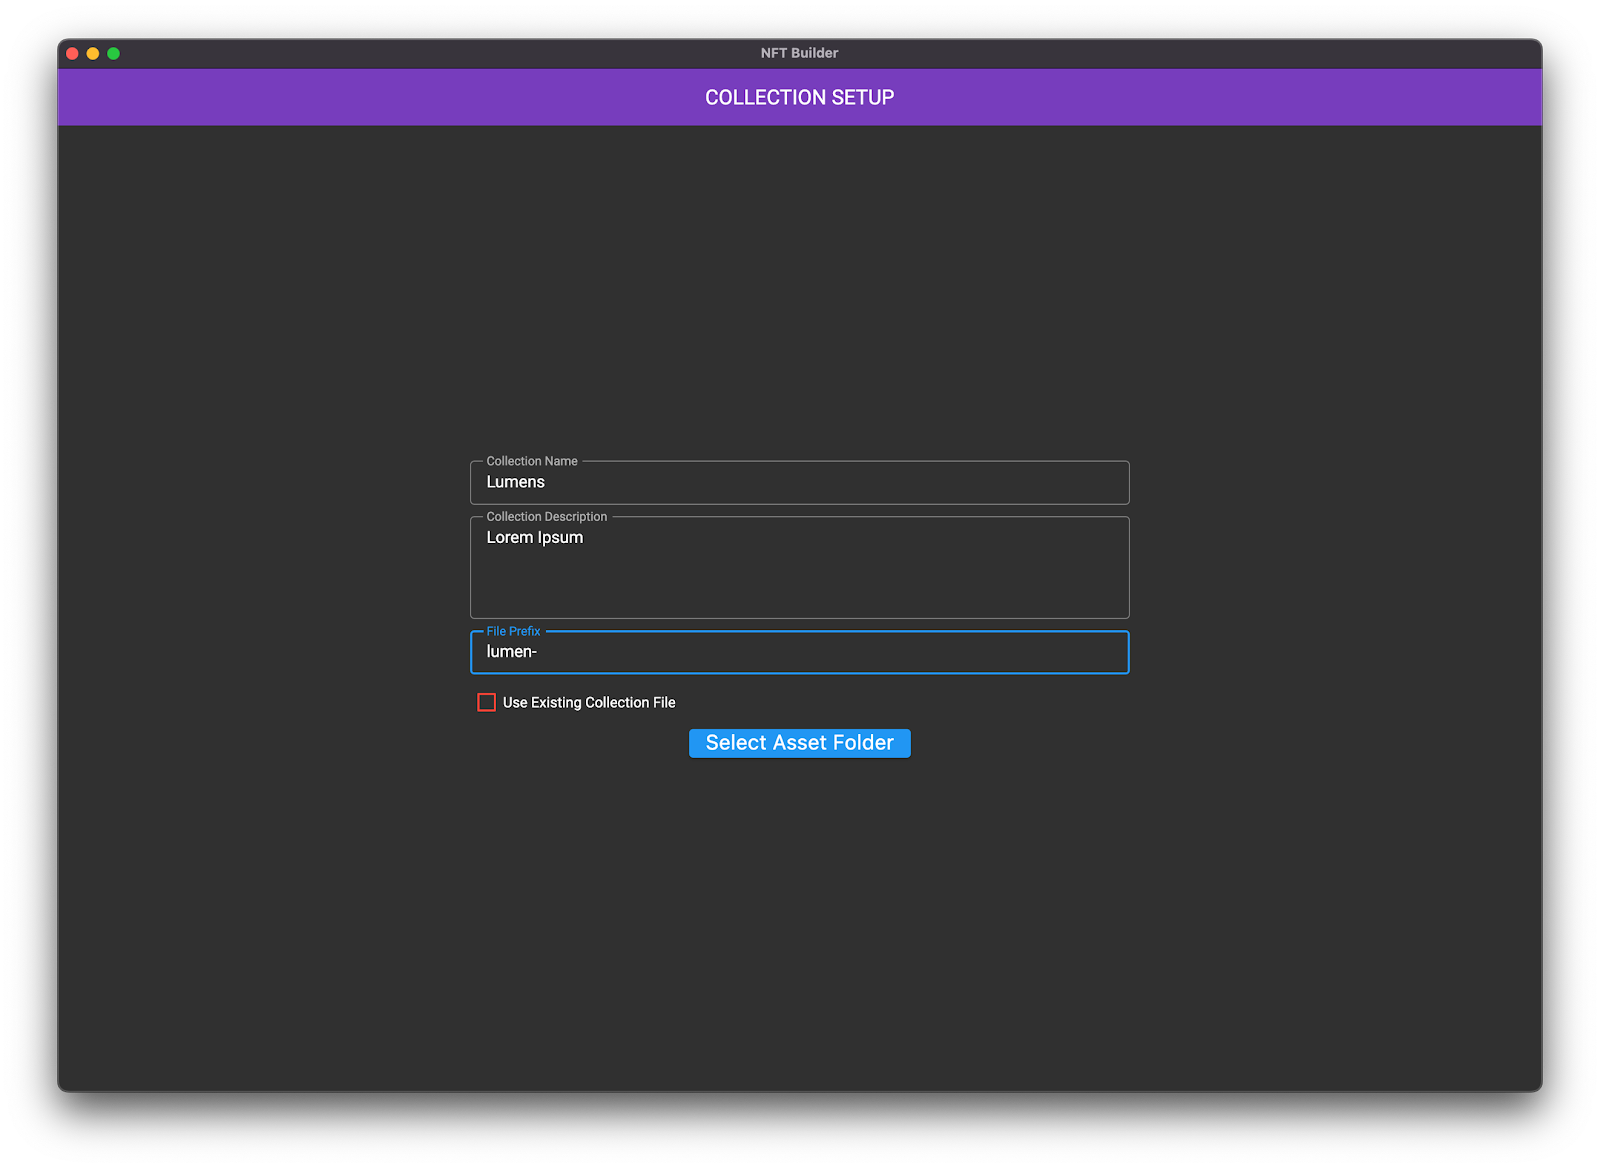
Now you are ready to launch the Vibes + Logic Creator Studio application. After entering your license key (if applicable), you'll configure your collection.
Please be sure to use the app in Dark Mode on both Windows and macOS for best results.
🤖 Windows Users: To learn how to setup Windows for Dark Mode, please read this article: https://www.pcmag.com/how-to/how-to-enable-dark-mode-in-windows-10
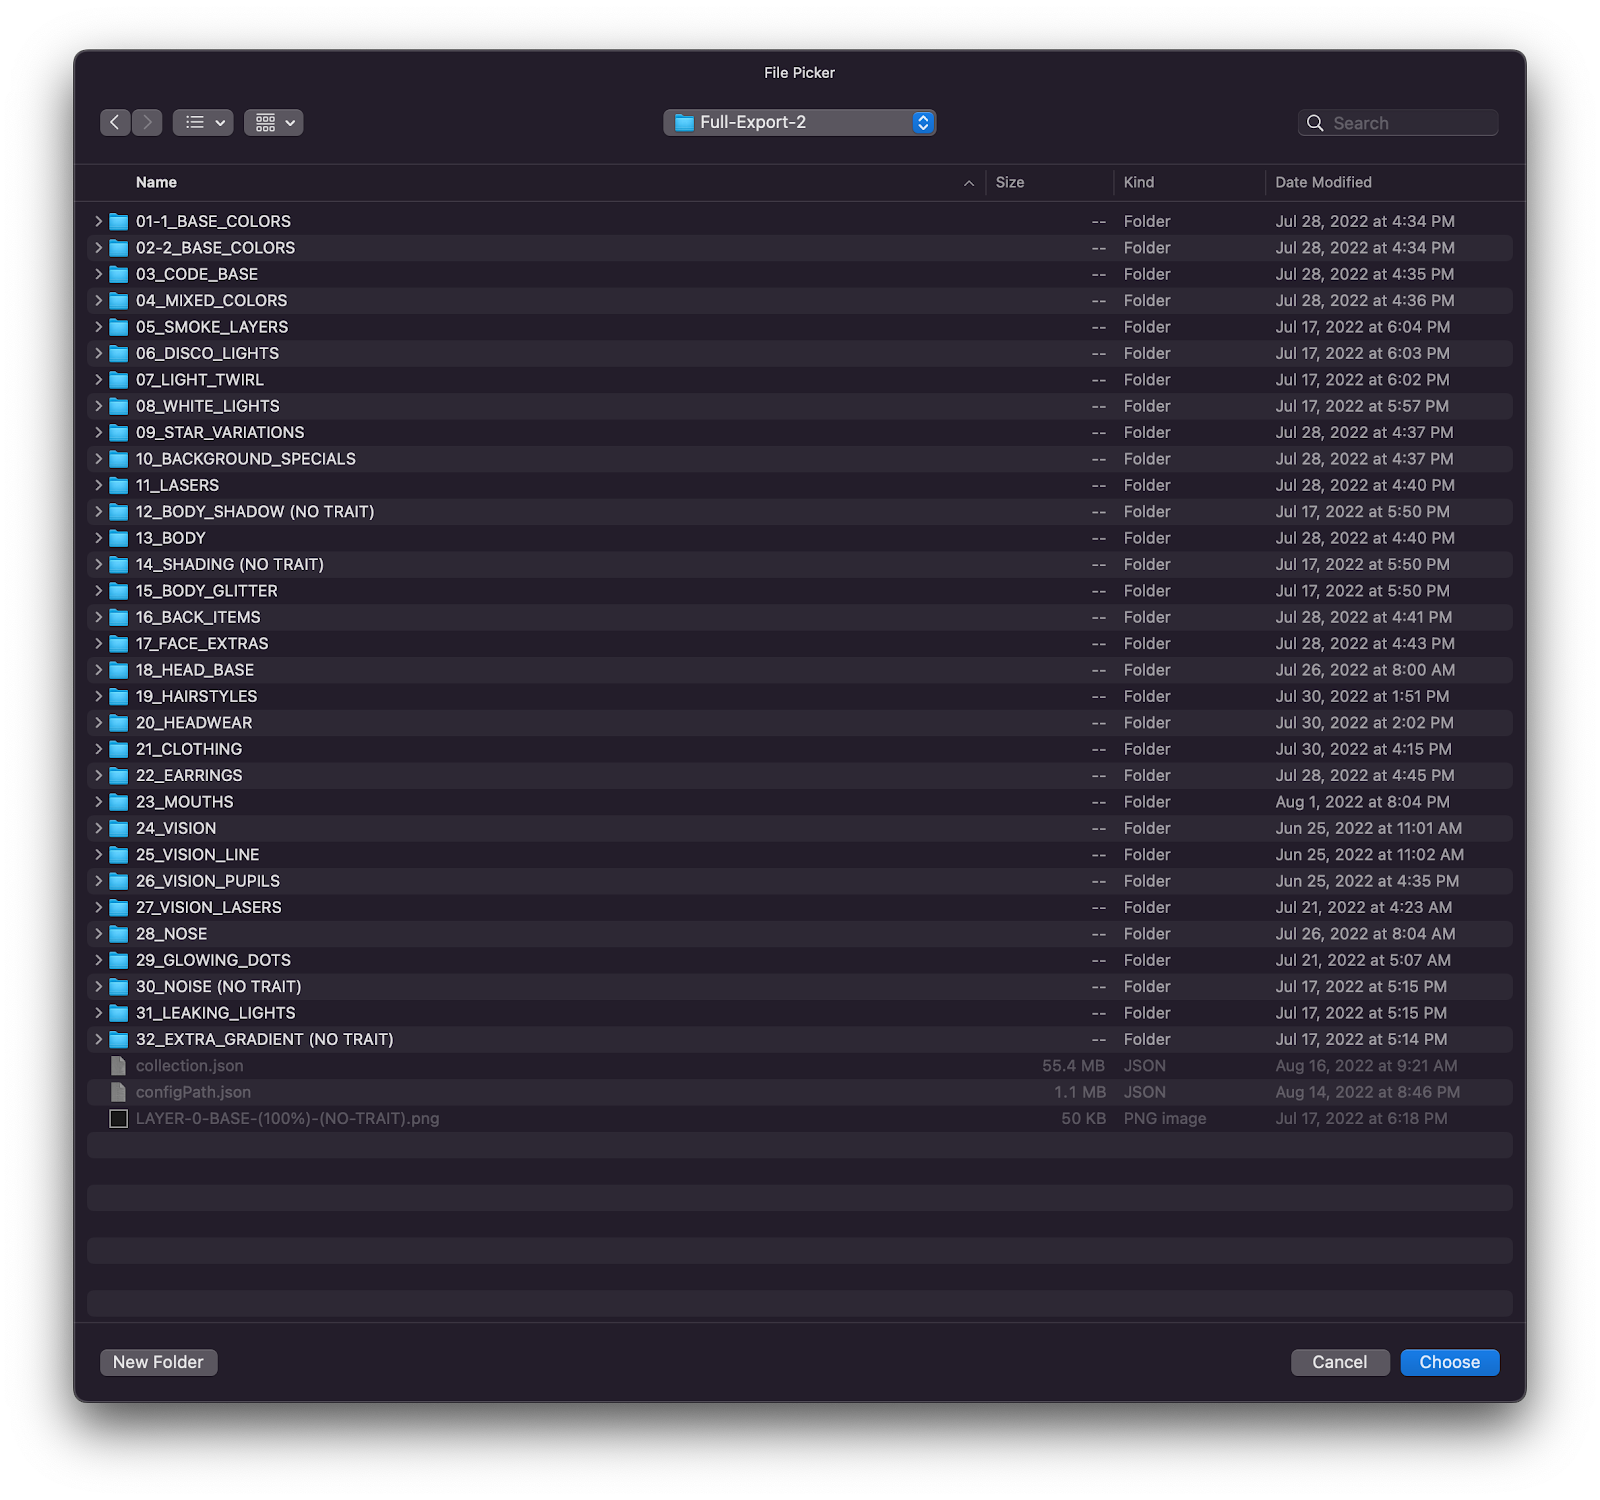
Next, you'll select the root/top folder where you exported your PSD layers as PNGs:
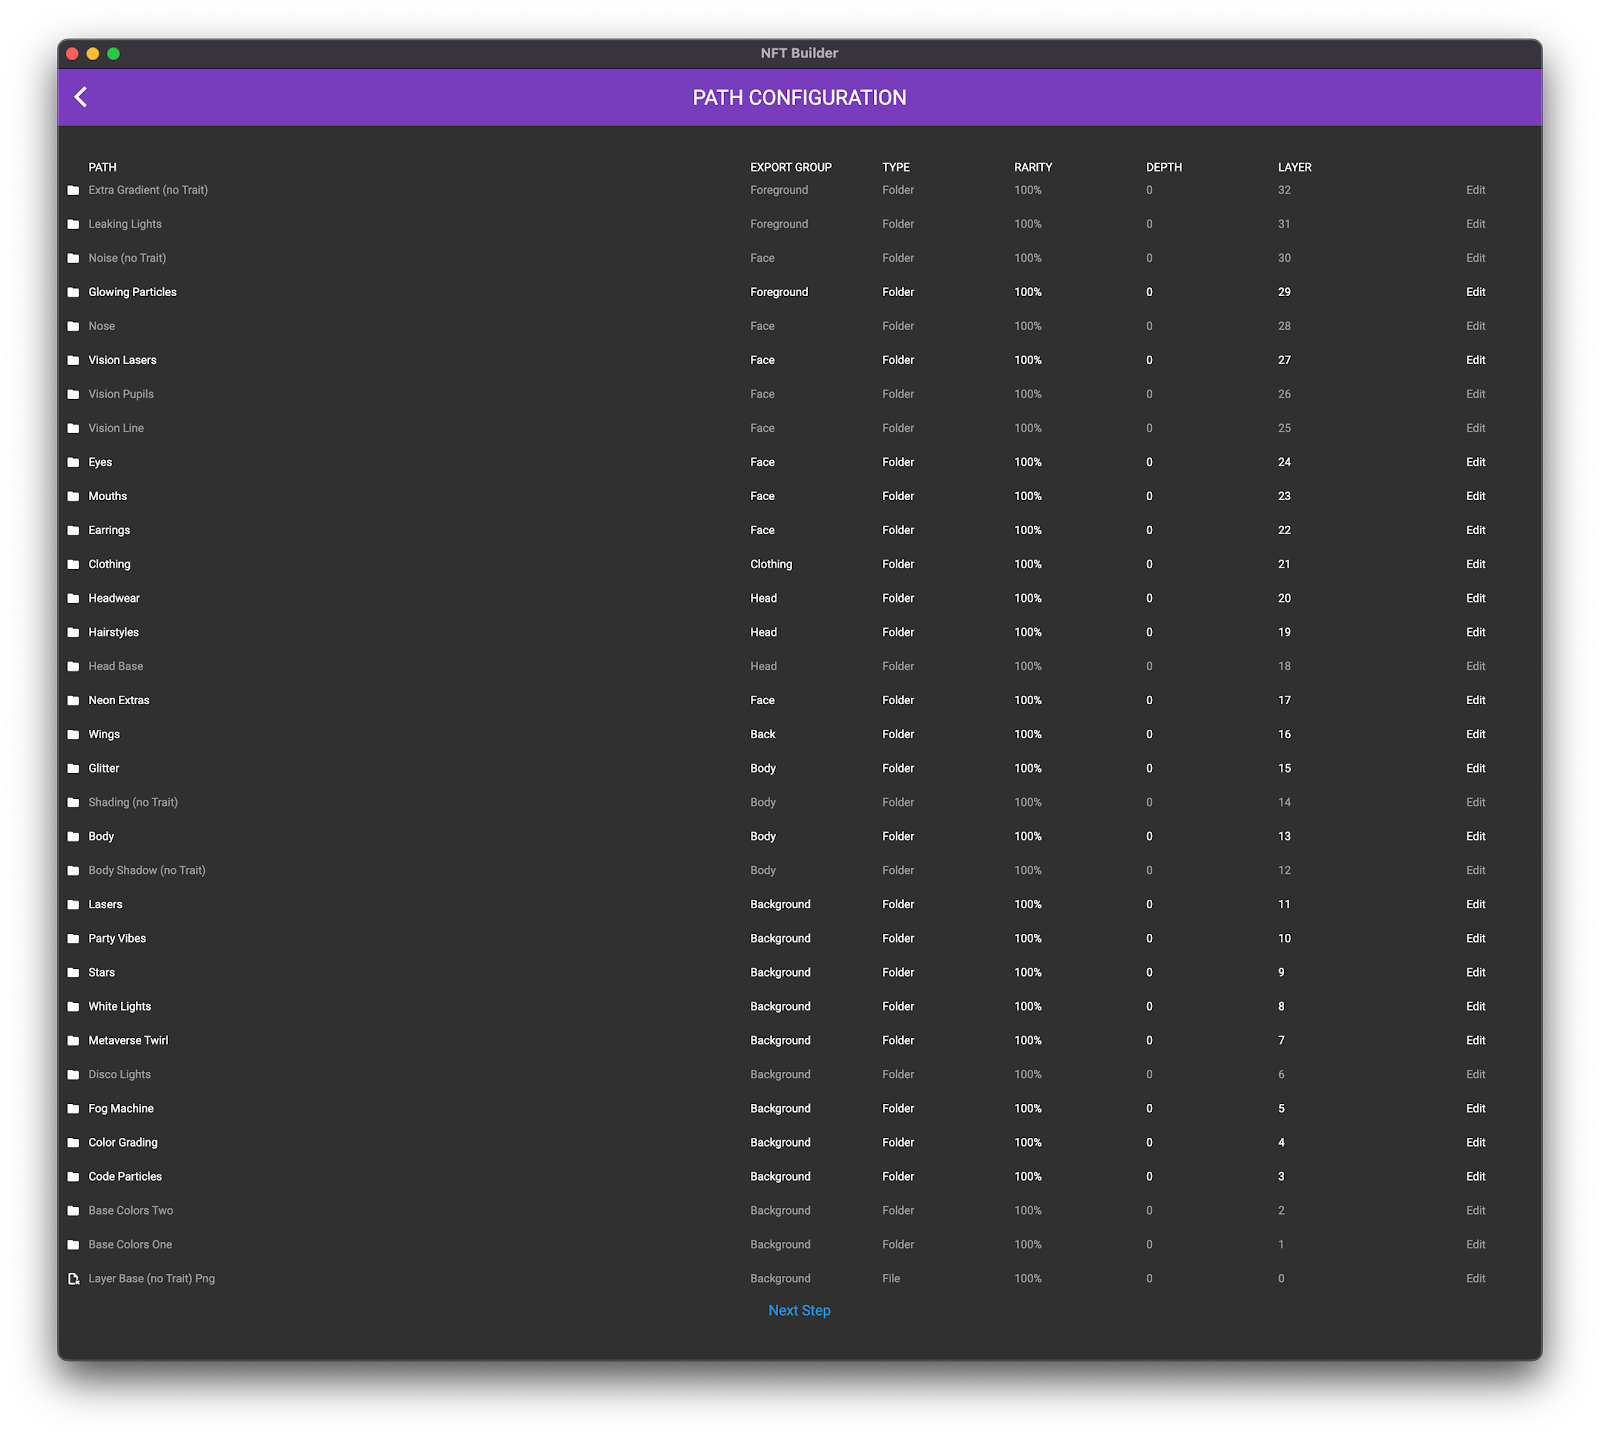
After selecting the root folder, our Creator Studio app will load the contents and let creators start previewing and configuring combination rules and rarity.
And quickly preview and set traits metadata:
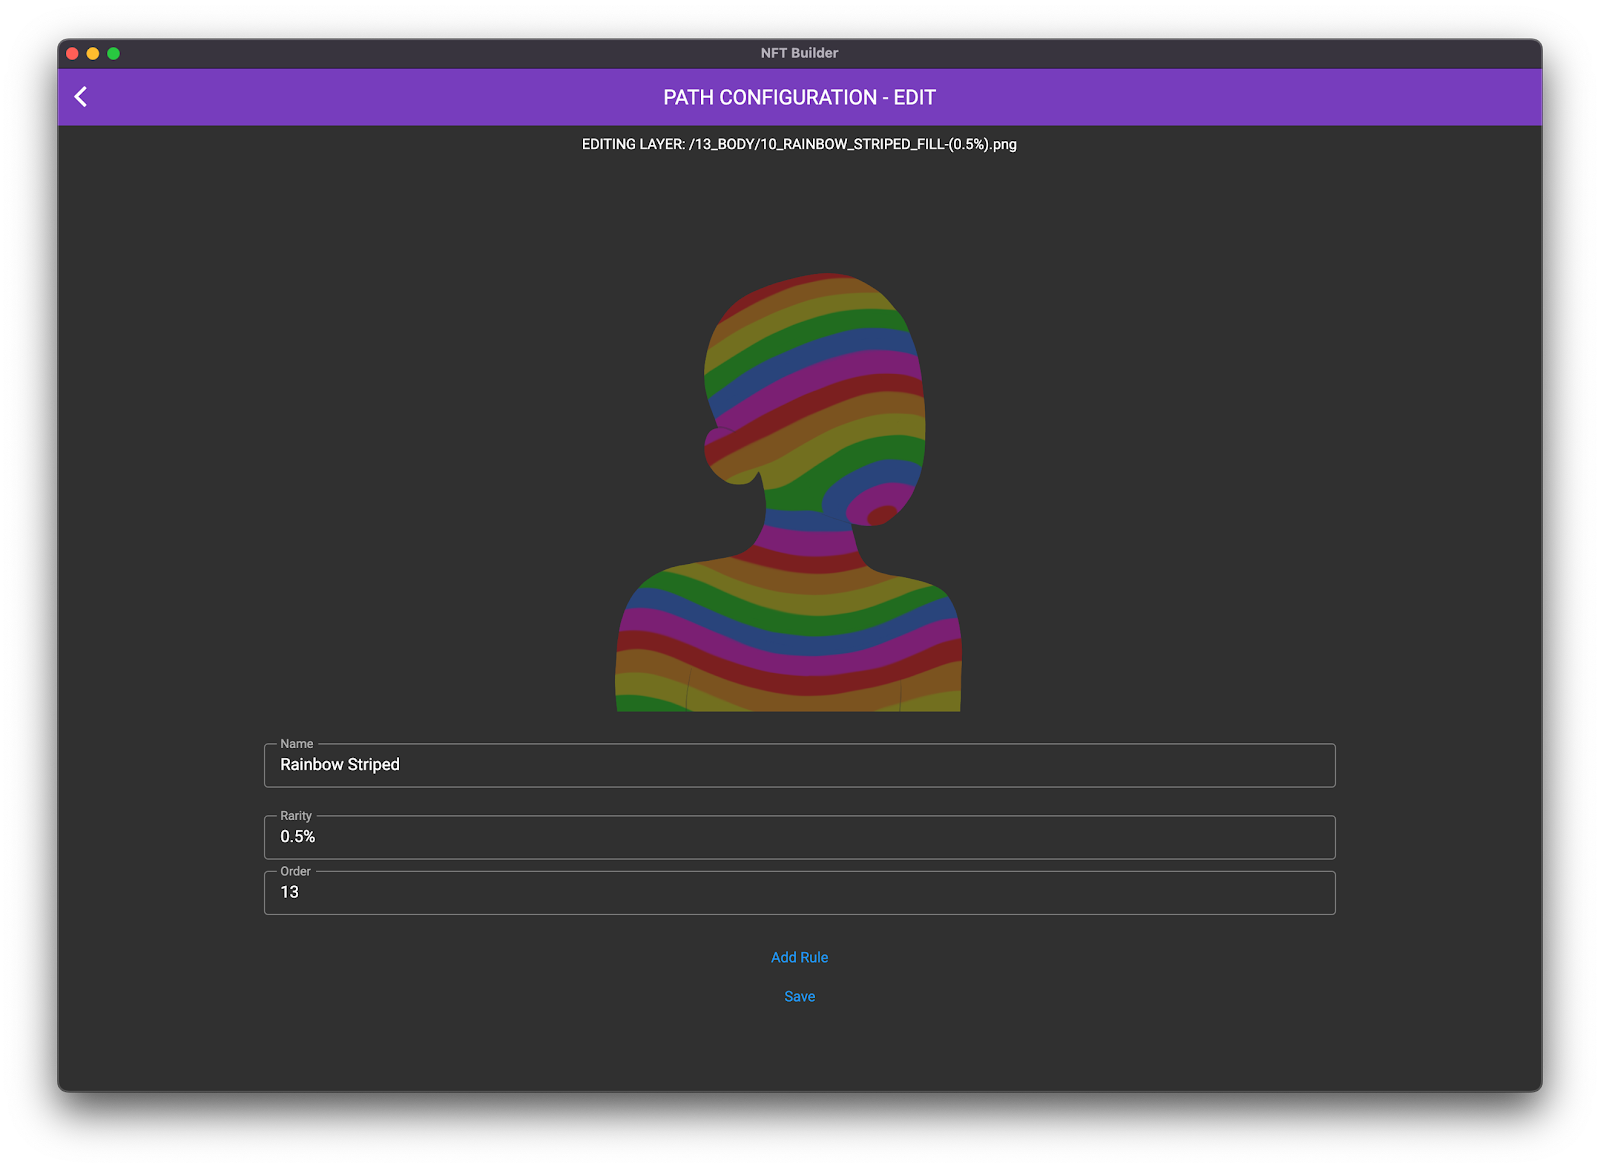
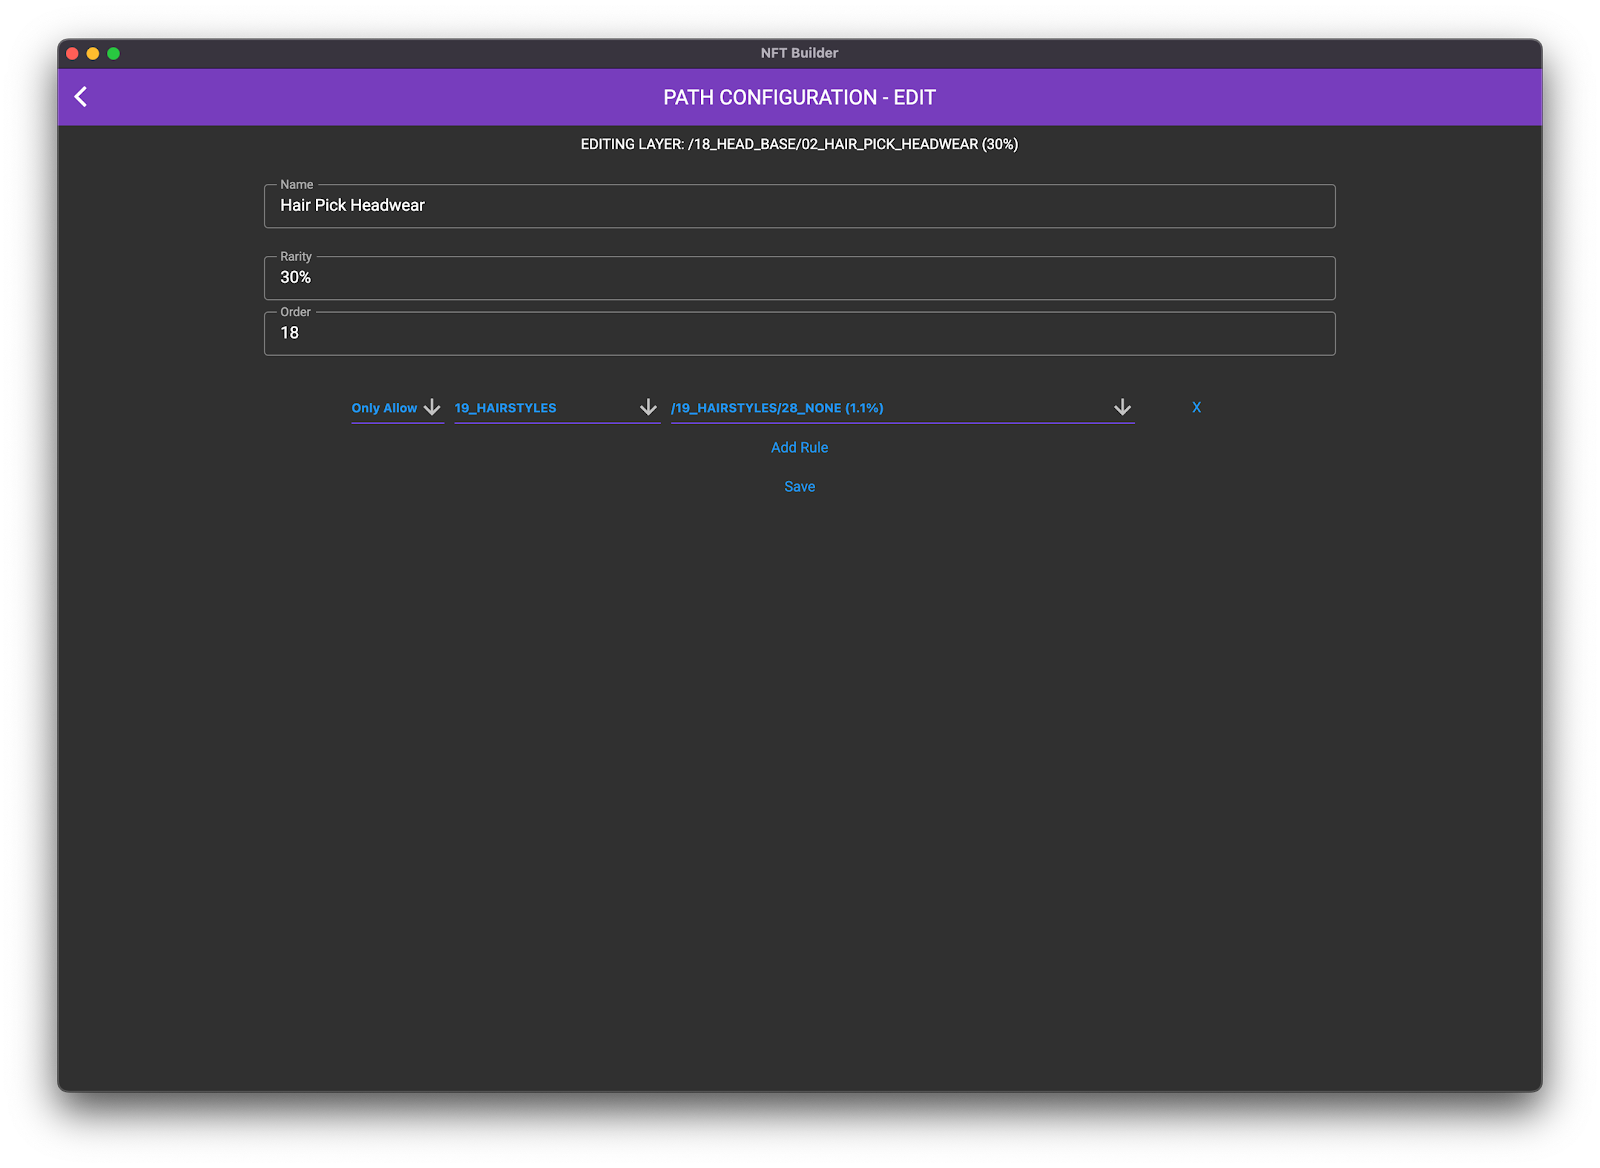
When you select an individual layer, you can rename it, adjust rarity as needed, and add combination rules.
An example may be that you'd want blue lasers to be allowed only if the eyes are also blue.
Our randomization is set up so that layers are picked in order from the bottom (back) to the top (front). So you can specify rules accordingly on layers that are picked first. In our example, if a hairstyle layer is farther back than a headwear layer, you would place the rule on the hairstyle layer to limit the options of the headwear layer, as shown in the screenshot from the rule in the Lumen collection:
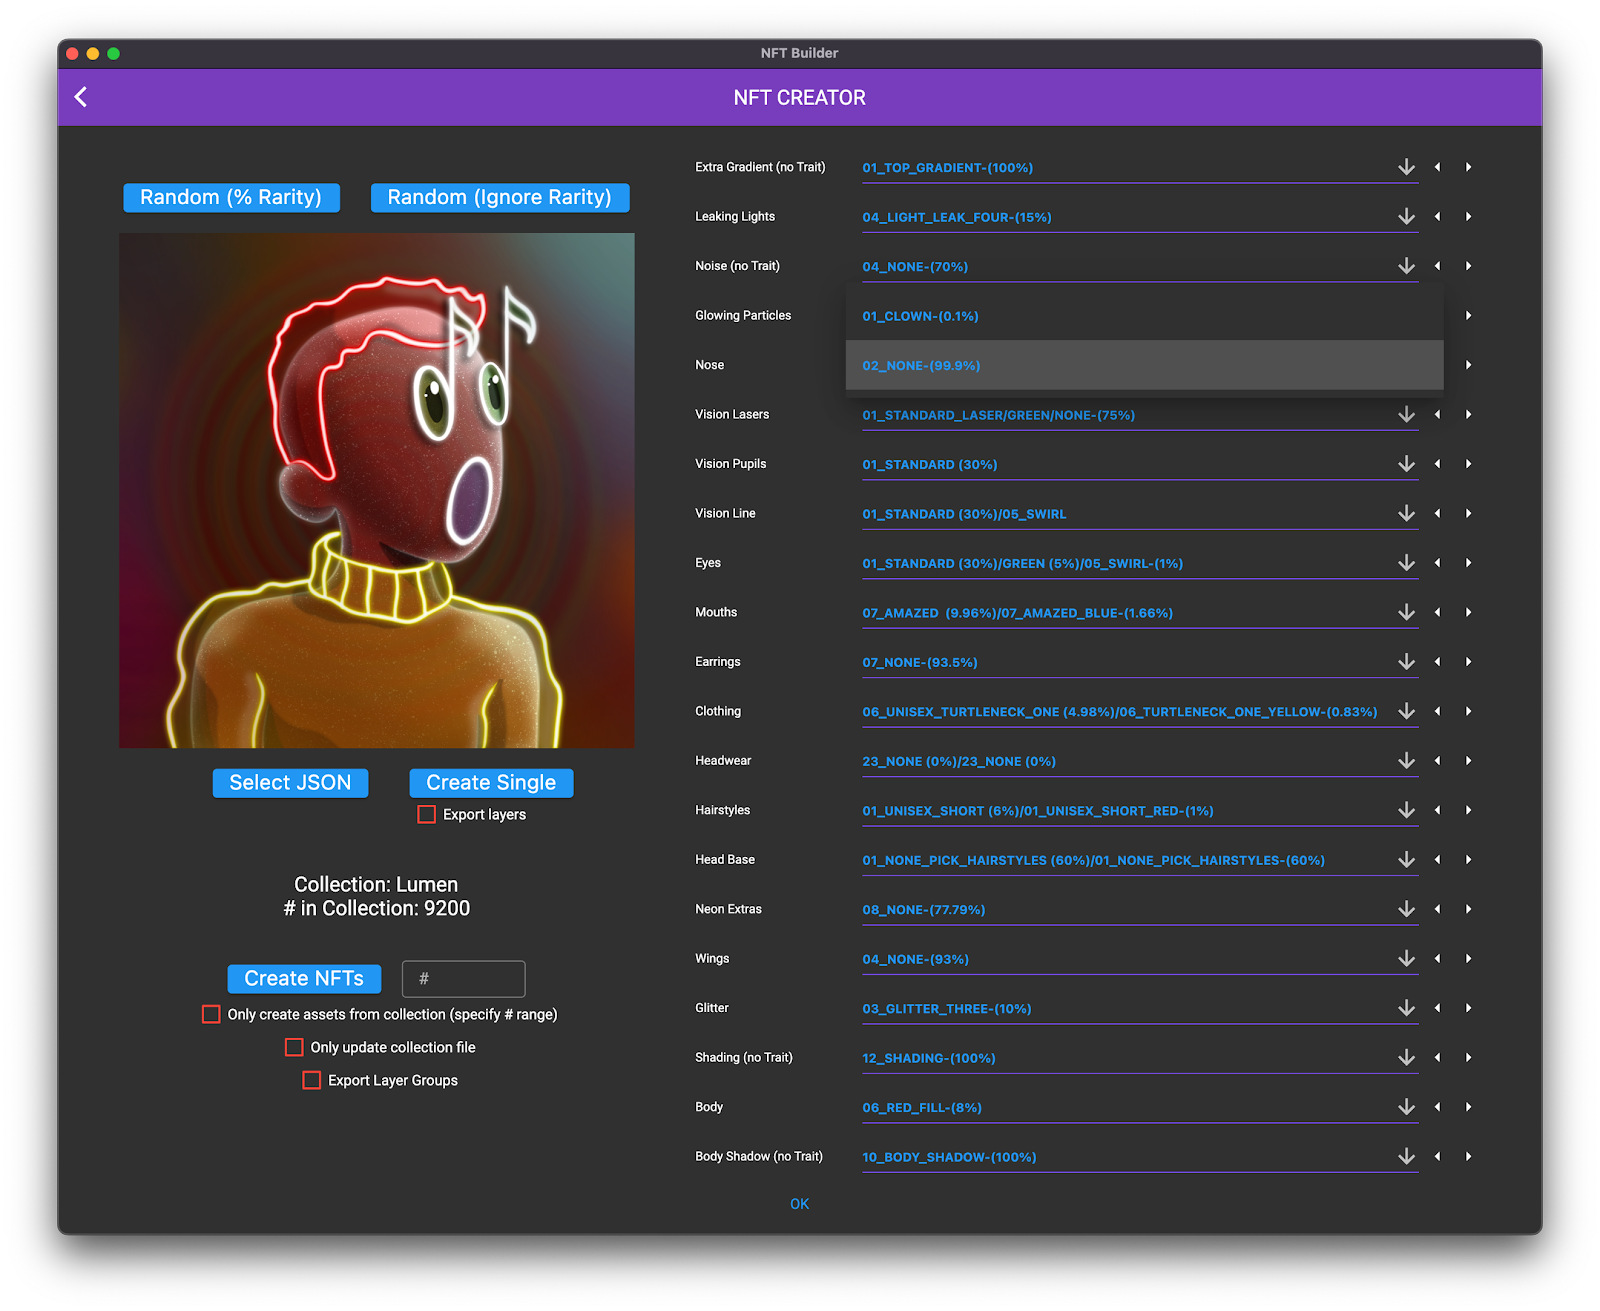
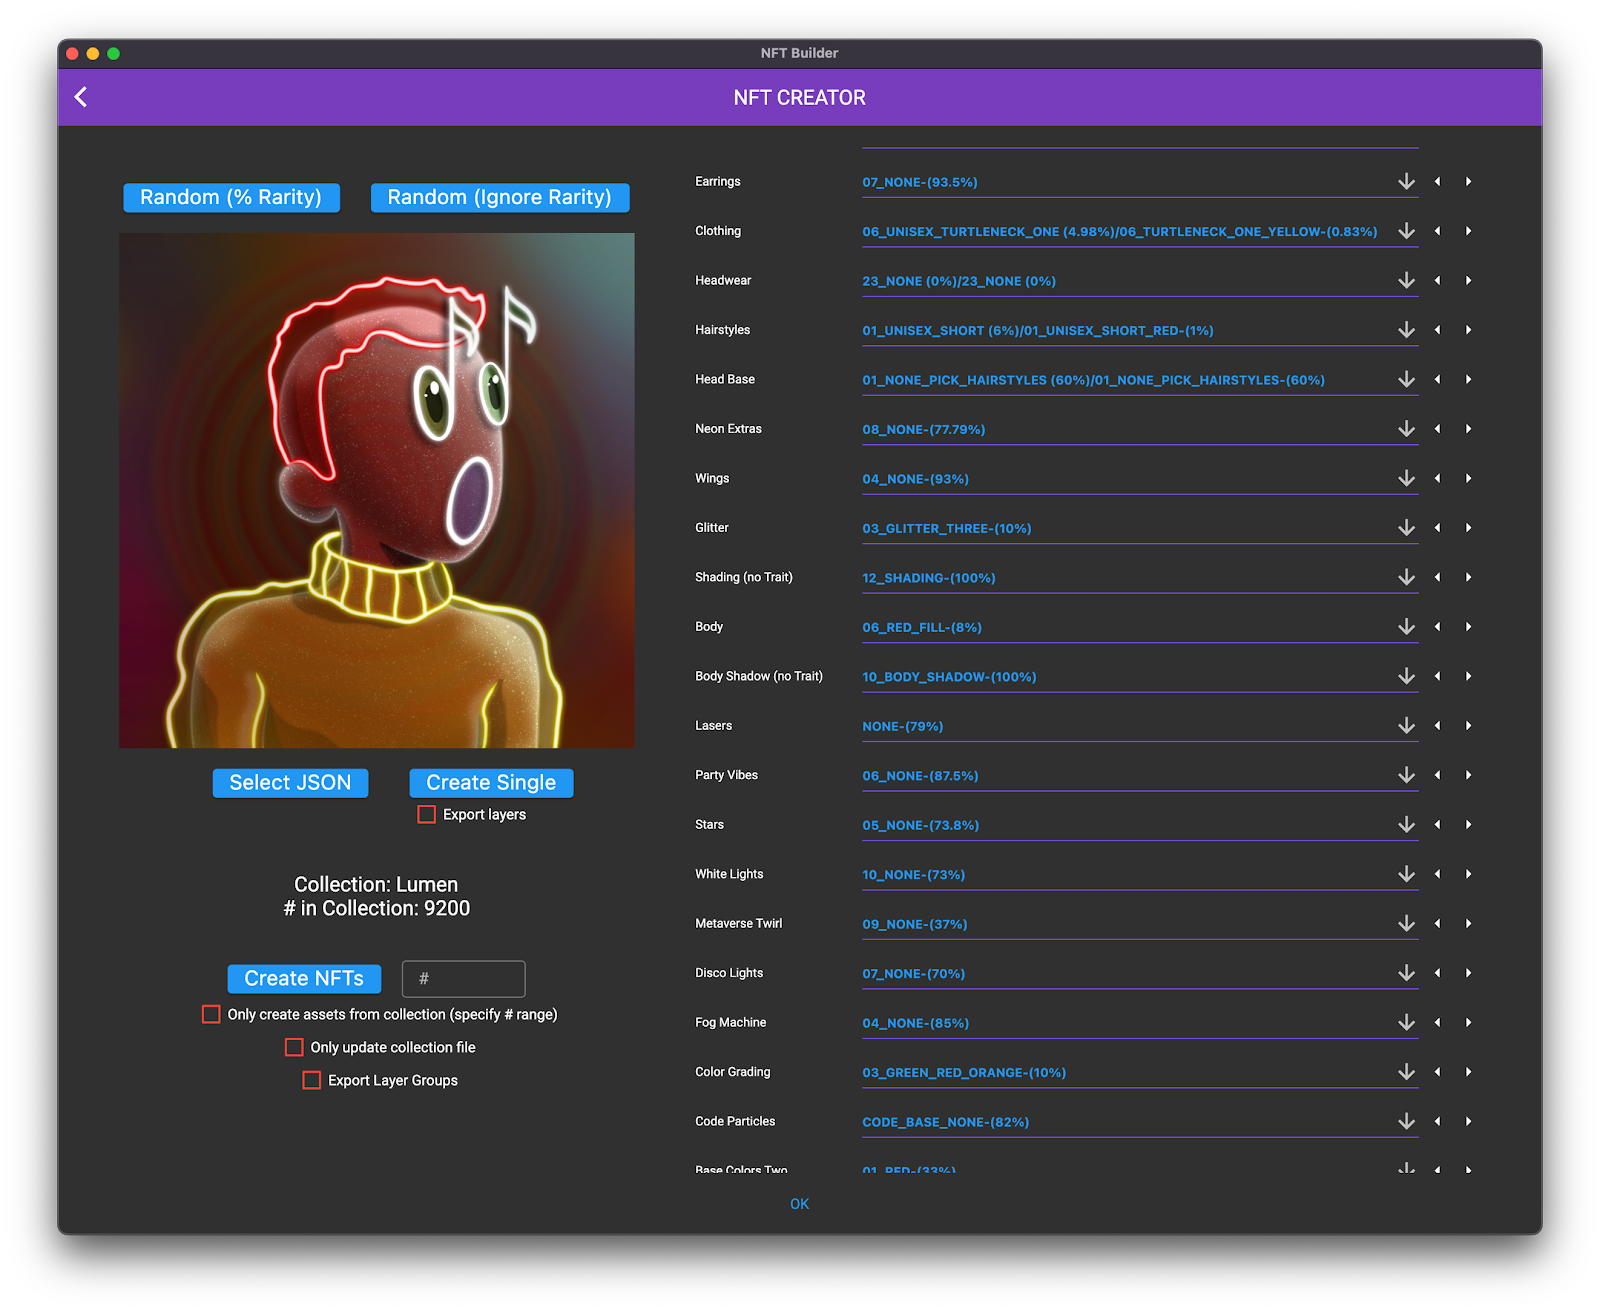
As you build out rules, you can preview the impact on our preview screen where the dropdowns automagically change according to the rules and limits you've configured. You can also experiment with the rarity using the Random (% Rarity) button.

You can also manually try combination by picking layers directly, or using the previous/next buttons next to each layer:
To create your collection, you simply specify the collection size # in the box next to “Create NFTs” and click Create NFTs.
After you have generated your collection (sequenced PNGs and JSON files), you can "load and preview" the layer configuration of an NFT token using the “Select JSON” button. At any point, you can save and export the configuration of the preview as an NFT (a pair of PNG and JSON files) by clicking “Create Single."
The time it takes to generate a single NFT or a collection of 10,000 NFTs will depend on the dimensions of your PSD canvas, the number of layers you have, and how powerful your computer is. If you're generating your collection in the Cloud, you can chose to "Only update collection file" which will skip the image and JSON generating step. Vibes + Logic offers professional consulting for enterprise clients looking to generate collections at scale using minutes vs. days using our technology.
Step 3: Download and Install the Vibes + Logic Creator Studio
To download the public alpha builds of the Vibes + Logic Creator Studio, please complete the alpha sign-up form, and once verified you'll receive an email with instructions for your operating system.
The best way to learn is to get started, experiment, play, and have fun. The best way to support us is to get and share the Lumens 👀🎵 with friends and family. We use secondary market royalties to fund future UI/UX design and dev sprints.
Good luck!
✨ VIBΞS + LOGIC 🤖