Transforming Vibes.AI Genesis Keyart Into a Stunning 4K Music Visualization NFT Prototype
I’m Rick Dias,
A graphic designer and creative director based in California.
My work comes from being inspired by many elements, but the two main ones that are always present are music and photography. The combination of these two elements takes me to a different dimension where music and image become one.
I’ve played instruments my whole life, and design for me, started at a really early age throughout my teenage years. Not only that, but I was also raised by a family of musicians and visual artists.
When I was introduced to Vibes + Logic, I saw an opportunity to achieve different levels of motion and sound design. We mix many mediums to create something way larger than visuals, combining brilliant creative minds to create a culture of digital expressions, interactions, and art.
The most interesting part of all of this for me, was diving into Mart’s incredible digital art and starting to think about sounds and movement that would eventually manifest in sync to create this amazing visual representation of different sounds.
With so many details to play with, I started to think about sounds first. What does a drum kick look like? How should I represent a hi-hat rhythm with graphic elements in a way that you can clearly see them among all the different sounds in a song?
After figuring out the basic movements of the graphic, I started to think about representing song elements that are not looped. Organic elements that change during a song and sound different in different parts of a song. That’s when particle animations came in.
The organic feel we created by using particles, brought an immersive detailed feel to each one of the songs we were playing with. Their behavior changed based on either their natural circular movements or physics-related elements. You can see and feel the intervention of wind or gravity playing with the graphics as they move.
For this, I decided to use Maxon’s Trapcode Particular. This tool allows you to control every single aspect of the animation and particle behavior.
All you have to do is create either a solid shape, or a null object as one of your layers in After Effects. Apply the Trapcode effect on top, and click on the designer tool in the effects panel to start playing. Just keep in mind that if you pick a solid object to start with, its shape will affect the particle’s behavior.
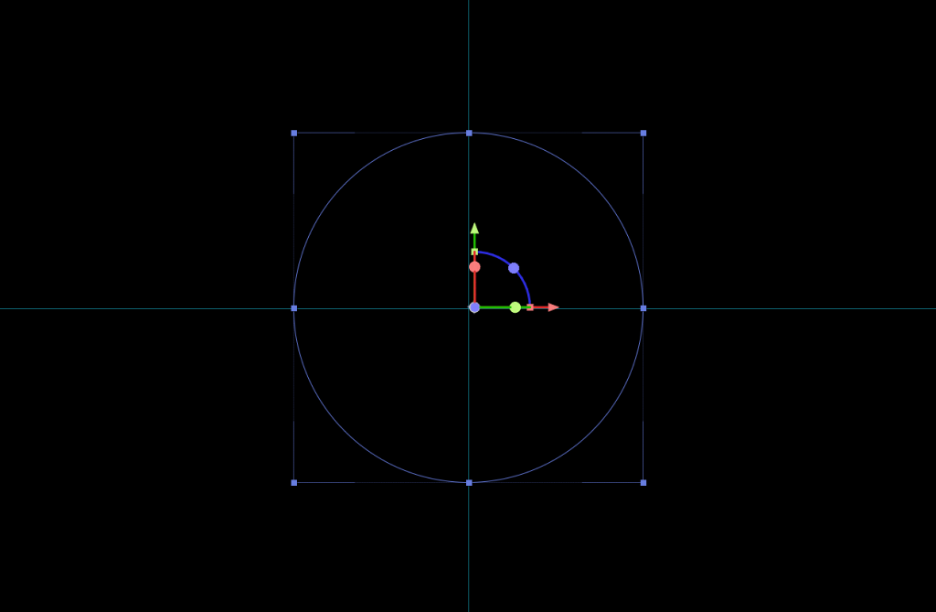
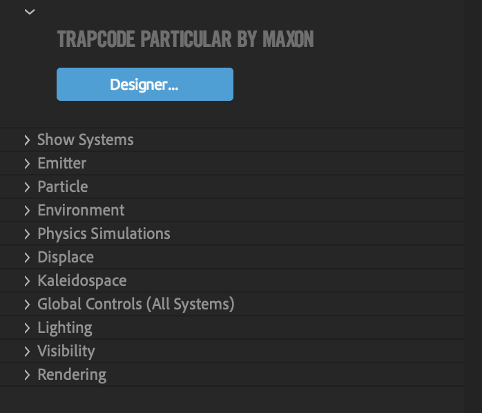
Trapcode will give you control over many aspects of the particle’s motion. It’s up to you, if you want to start by picking one of their presets to modify, or if you think starting something from zero makes more sense.
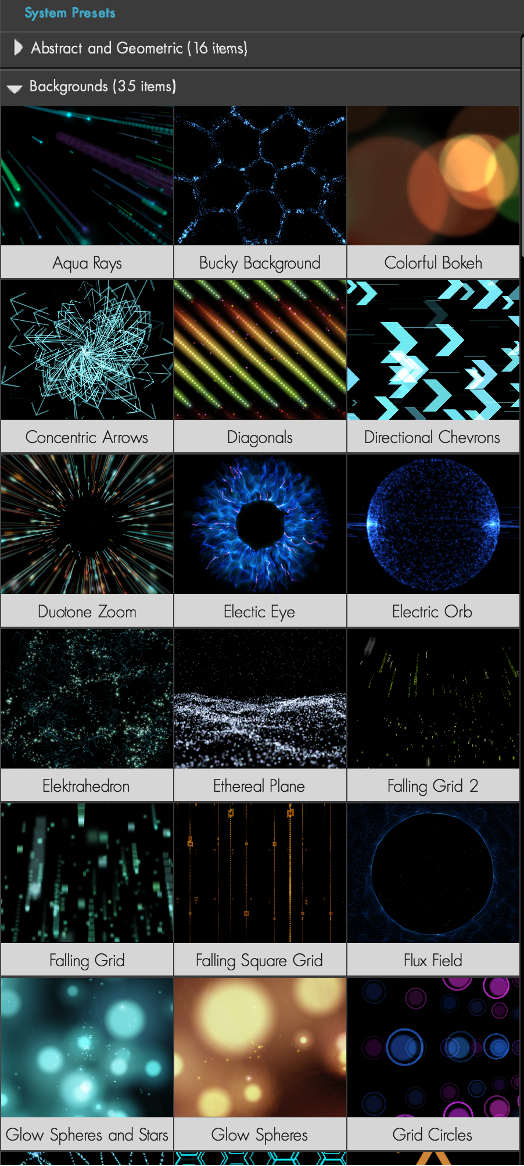
From the starting point, you already have the options to pick the kind of particle you want to work with. That will define the initial shape of the elements you want to play with.
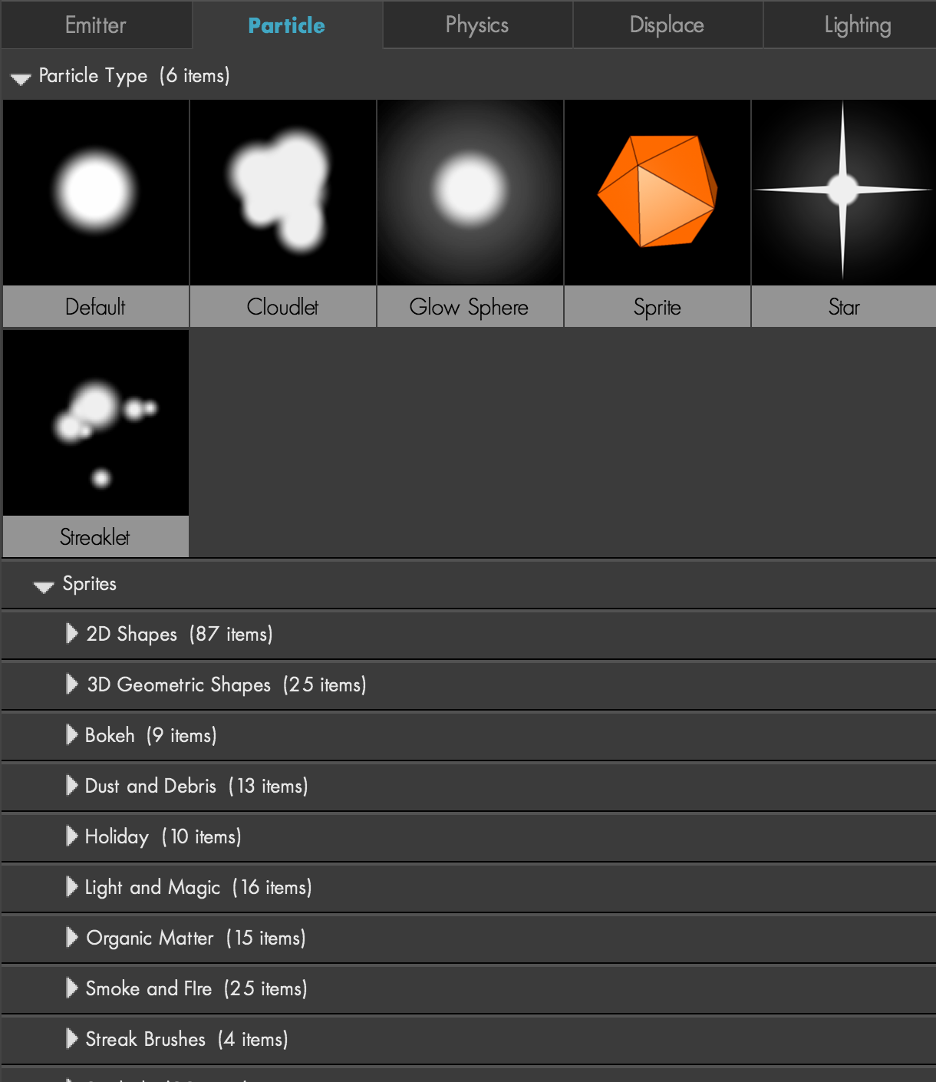
This will at first sound limiting, but once you start playing with its measurements, you realize that the starting point is just there to guide you. You can get to a totally different result just by changing a few numbers.
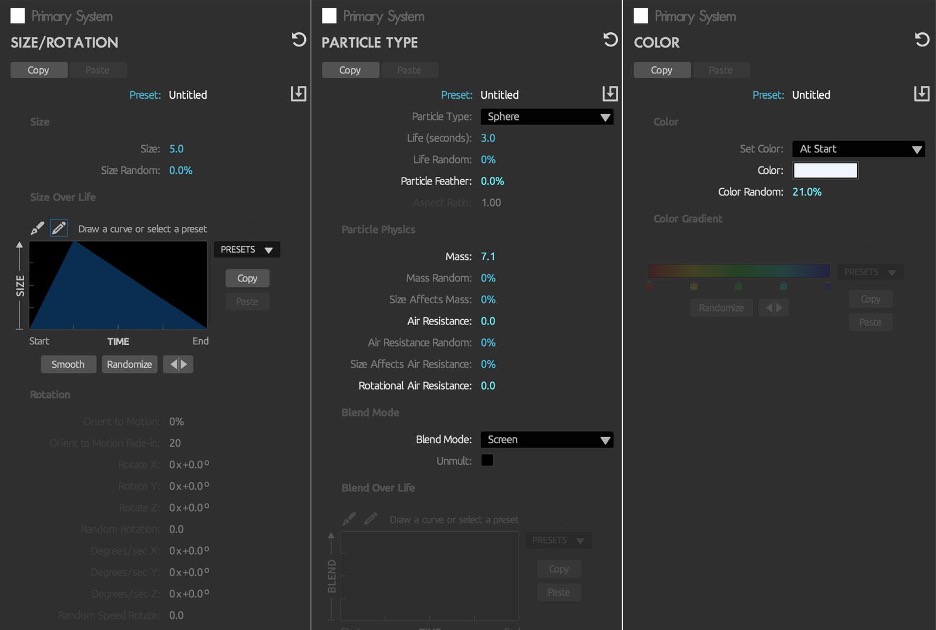
In our case, we started with a single 5px glow sphere particle. We duplicated the same particle and changed its color. Now we’re playing with a white and blue particle within the same generator.
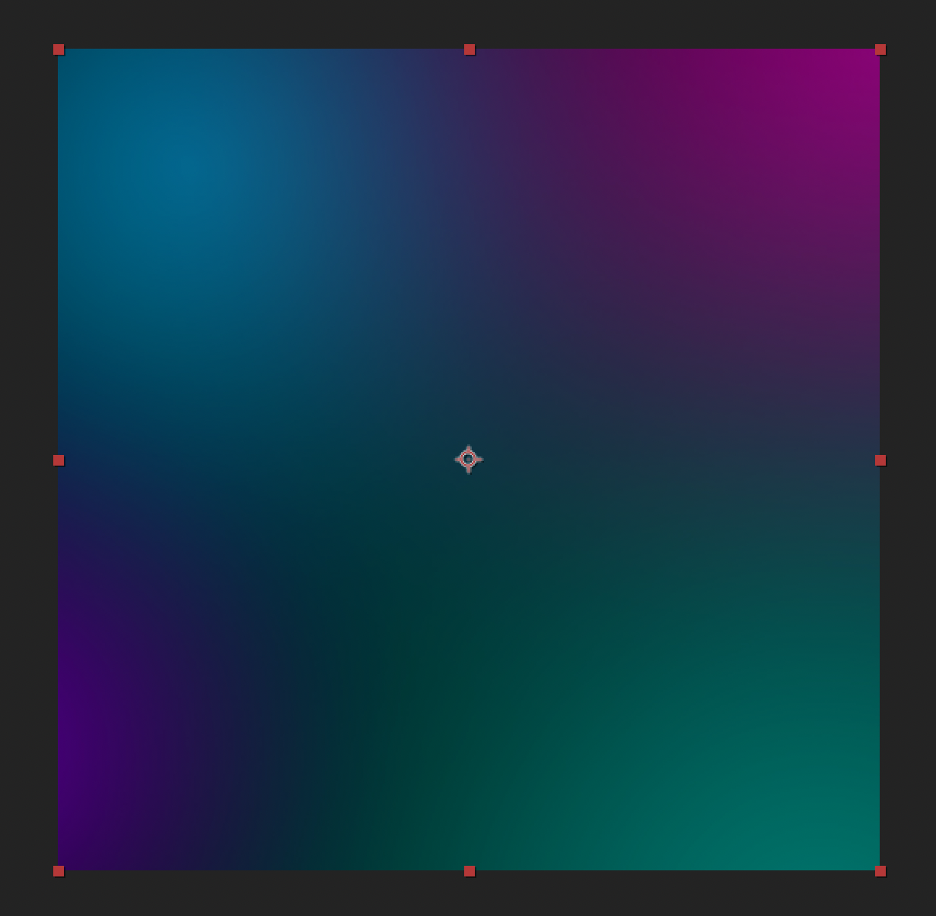
We wanted the environment colors to affect the contrast of the particles generated by Trapcode, so instead of changing the environment colors on Trapcode, we decided to add a gradient layer on top. This gradient layer does a 360 spin with an Overlay effect applied, so the particles themselves can absorb the colors of the gradient.
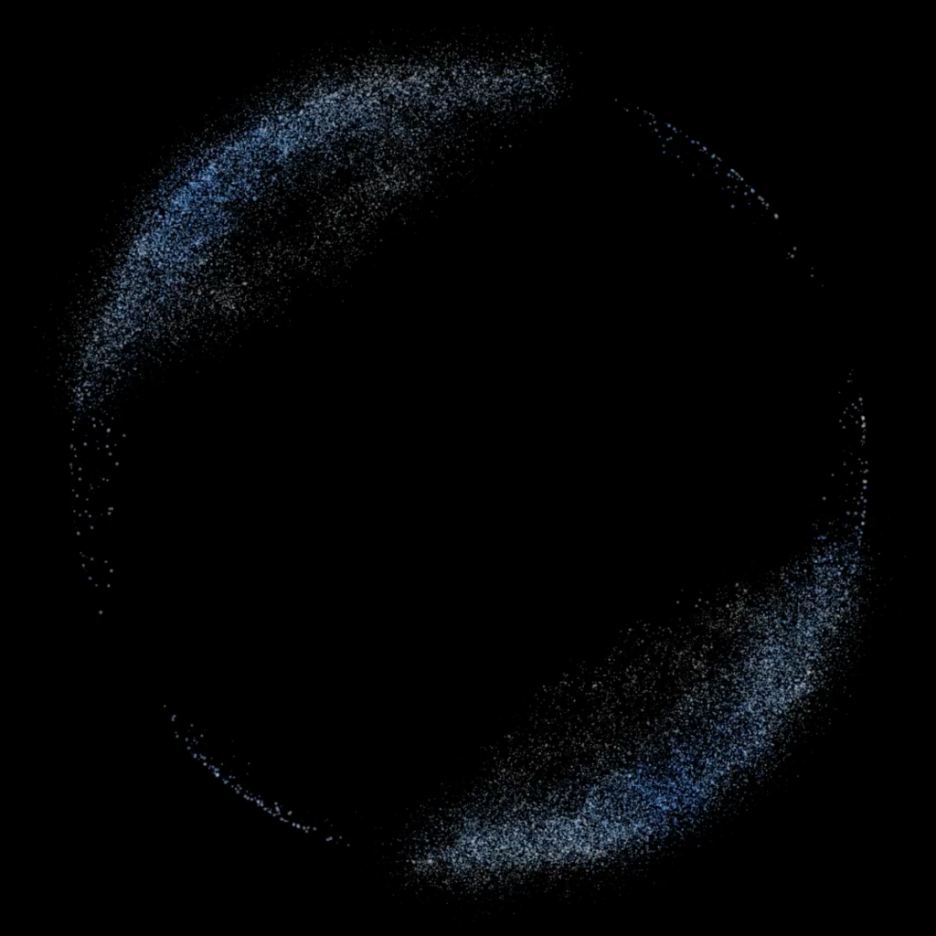
You can immediately see the result over the existing particles.
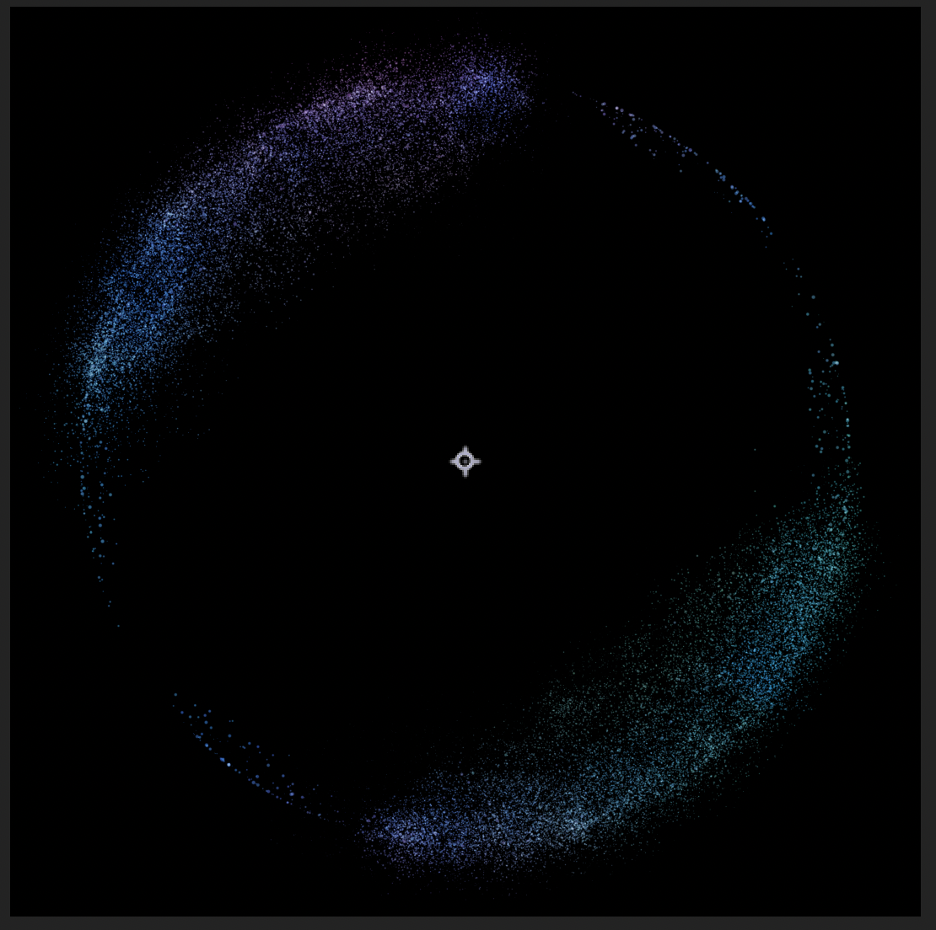
The particle movement has to go along with the rest of the composition, and the first step for that, is to bring in the starfield from our comp.
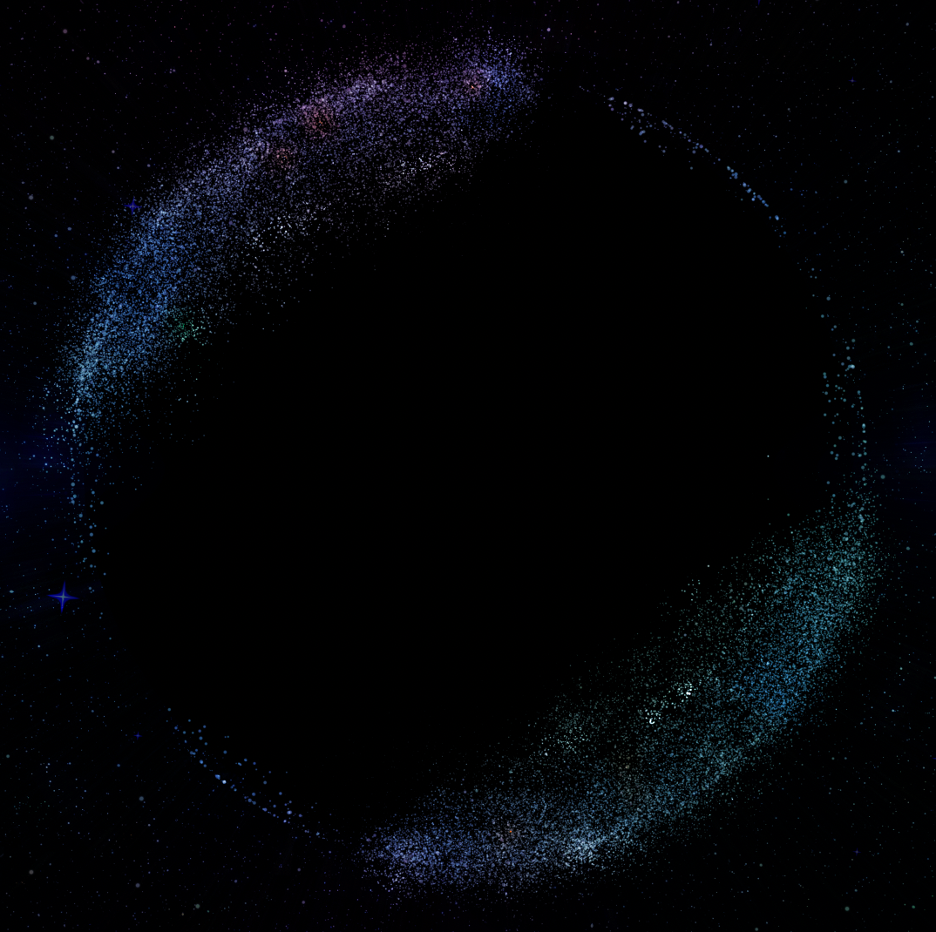
This already gives us an idea of how the movement is going to flow between different elements. The next step is to create movement that represents the growing sounds throughout the song. For that, we bring in particles which start from the center of our orbit and drift out into the starfield space.
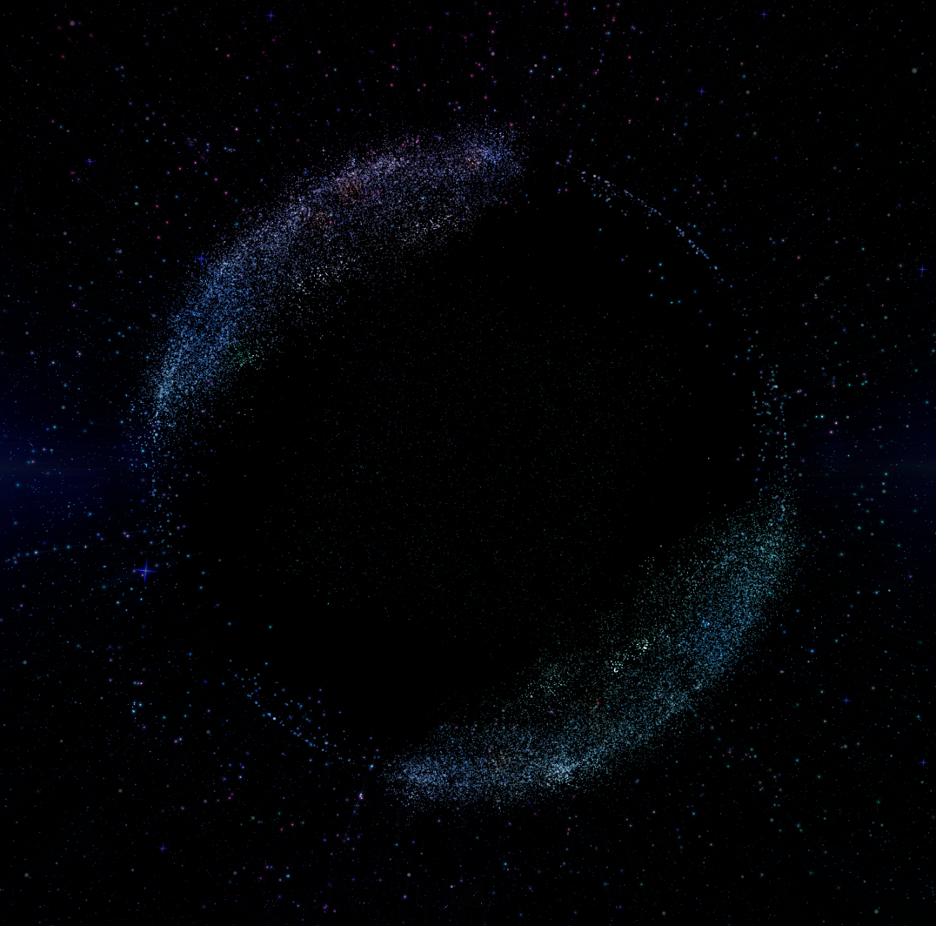
We have 3 layers of organic particle engines that will complement our main animation. Now it’s time to pick the right layer where each one of these should live. For the starfield and fading fireworks, we will pick a background layer. For the circular particles, we will choose a layer in between the light rings in the animation. That will add a subtle organic movement to our animation loop, and now we’ll be able to represent not only the looping instruments with all the different graphic elements, but all the organic instruments that come and go throughout the entire song.
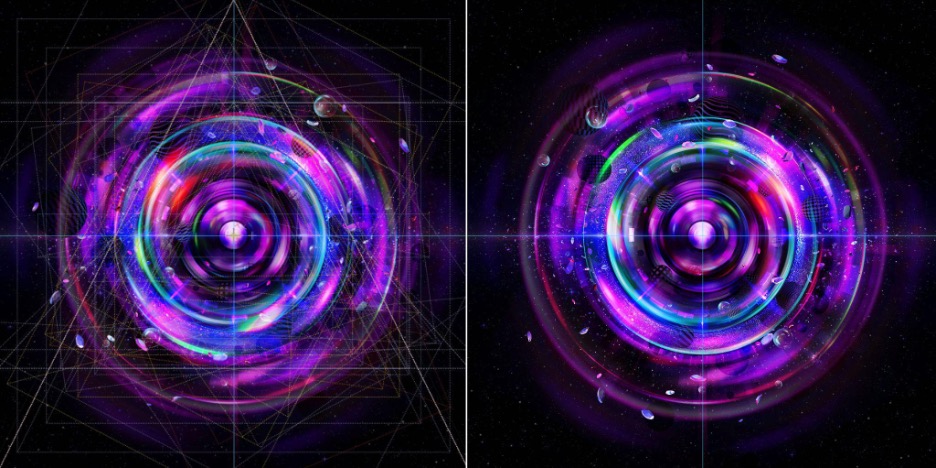
In conclusion: Particle animation can be an amazing way to represent sounds with visuals. It requires a lot of patience and testing. If these visuals are incorporated with a purpose to represent a listening experience, you have to keep in mind that synchronicity is key. Don’t bring in these elements if they keep you from noticing the nuances of a song. The idea is to always enhance the experience, not to cause any distractions.
Stay creative & keep moving!
